Getting a Hairline or Mirror Finish on Stainless — the Real Sequence
A customer rejects a stainless panel because the brushed lines run two directions near a weld, or a "mirror" job comes back hazy with swirls you can only see in daylight. Finishing stainless looks like the simplest job in the shop — just polish it — and it punishes that assumption more than almost anything else. A good finish is not about the final buff; it's about a disciplined sequence where every step completely erases the scratches of the step before. Skip a grit or rush a stage and the flaw is locked in, invisible until the light hits it wrong.
This guide is for the fabricator or workshop owner producing a hairline (brushed), satin, or mirror finish on stainless steel sheet and parts. We'll define the finishes, give the grit progression that actually works, and cover the contamination and direction mistakes that ruin otherwise good work.
Know which finish you're making
"Polished" means three different things. Decide the target before you start, because the route is different.
| Finish | Looks like | How it's made |
|---|---|---|
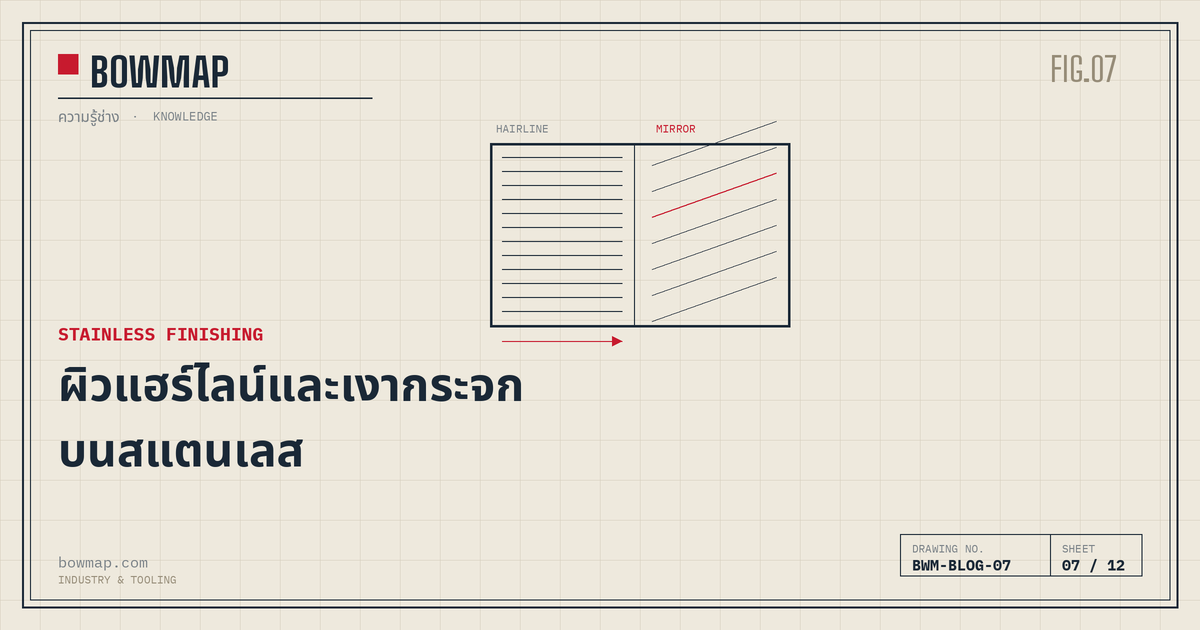
| Hairline (brushed) | Fine, straight, parallel satin lines in one direction | A single uniform abrasive grade run in one direction — non-woven belt or wheel |
| Satin / dull | Soft, low-sheen even texture, no mirror | Medium non-woven abrasive, less directional than hairline |
| Mirror (No.8) | Reflective, no visible scratch | Full grit progression up to ~800, then buffing with polishing compound |
Hairline and satin are texture finishes — you stop at an abrasive stage and keep it uniform. Mirror is a reflection finish — you must remove all texture, which means climbing through every grit and finishing with a buff. Trying to "buff up" a coarse finish straight to mirror never works; the deep scratches just become shiny deep scratches.
The mirror progression — don't skip grits
A mirror is built by replacing big scratches with progressively smaller ones until they're too fine for the eye to see. The single rule that governs everything: each grit must fully remove the scratch pattern of the previous grit before you move on.
| Stage | Grit | Job |
|---|---|---|
| Level / defect removal | 40–80 | Grind welds flush, remove deep marks |
| Coarse refine | 120 → 180 | Erase the grinding marks |
| Medium refine | 240 → 320 | Remove 180 scratches; surface starts to even out |
| Fine refine | 400 → 600 | Surface becomes uniformly dull-bright |
| Pre-polish | 800 (+ greaseless/emery compound) | Haze begins to reflect |
| Mirror | Cloth buff + stainless polishing compound | Full reflection |
The professional trick is to rotate the working direction 90° at each grit change . When you switch grits, you sand across the previous scratches; the moment the old (perpendicular) lines vanish, that grit is done. If you sand in the same direction every time, you can't tell whether the previous scratches are gone — and that's exactly how swirl and haze get trapped under the final buff. Keep the surface and abrasive clean between stages so a stray coarse grain doesn't drag a single deep line through your fine work.
The hairline finish — uniformity is everything
A hairline is easier in principle and harder in discipline: you're not climbing grits, you're producing one perfectly uniform directional texture across the whole panel. The finish comes from a non-woven abrasive (the grey "Scotch-Brite" type) rather than sandpaper, because non-woven gives a softer, more even line and doesn't cut stepped scratches.
Run anon-woven abrasive belt or pad of one consistent grade in a single direction with steady, even pressure and full-length passes — never stop mid-stroke, which leaves a dark dwell mark. Overlap each pass slightly so the lines blend into one continuous grain. For long sheets, consistency by hand is hard; a hairline polishing machine with a wide non-woven wheel runs the whole width in one even pass and is what production stainless shops use for repeatable architectural and kitchen panels. For touch-ups and detail areas a non-woven roll lets you match the grade and direction of the main panel by hand.
Wheels, machines and the contamination rule
For shaped parts, edges, and spot work, a powered wheel reaches what a flat belt can't. An 8-inch non-woven wheel on a bench or pedestal motor blends welds and produces satin on railings, brackets and fittings, while anair sander/polisher gives controllable speed for getting into corners and feathering a repair into an existing finish without burning a bright spot.
One rule overrides all the technique: never let carbon steel touch stainless. A flap disc, wire brush, belt or bench wheel that has been used on mild steel carries embedded iron particles, and those particles transfer into the stainless surface and bloom into rust spots days later — the customer sees rust on "stainless" and blames the metal. Keep a dedicated set of abrasives, wheels and brushes for stainless only, work in an area away from carbon-steel grinding dust, and passivate or at least clean the finished surface before it leaves.
BOWMAP Industry & Tooling, a Samut Prakan supplier of Japanese-quality industrial tools, stocks non-woven pads, sheets and rolls, non-woven wheels, hairline polishing machines and air polishers, so a workshop can run the whole hairline-to-mirror sequence with abrasives kept dedicated to stainless.
FAQ
Q1. How do I get a consistent hairline finish on a stainless sheet? Use one consistent grade of non-woven abrasive (grey Scotch-Brite type) and run it in a single direction with steady, even, full-length passes, overlapping slightly so the lines blend. Never stop mid-stroke or change direction. For long panels a hairline polishing machine with a wide non-woven wheel gives the repeatable, uniform grain that hand work struggles to match.
Q2. What grit do I need for a mirror finish on stainless? There's no single grit — a mirror is a progression. Climb 120, 180, 240, 320, 400, 600, then 800 with each step fully removing the previous scratches, then finish with a cloth buff and stainless polishing compound. The key is never skipping a grit and rotating your sanding direction 90° each stage so you can see when the old scratches are gone.
Q3. Why does my "mirror" finish look hazy or swirled? Because a coarser scratch pattern was never fully removed before you buffed — the buff just made those scratches shiny. Go back one or two grits, sand until the surface is uniform with no visible lines, then climb again, changing direction at each grit. Haze and swirl are almost always a skipped or incomplete grit, not a bad compound.
Q4. Why is my stainless rusting after polishing? Almost always iron contamination: an abrasive, wheel or brush previously used on carbon steel embedded iron particles into the stainless, and they rust. Keep abrasives and wheels dedicated to stainless only, work away from carbon-steel dust, and clean or passivate the finished part. The metal is fine — the contamination is the problem.